
Triple Chocolate Cookies

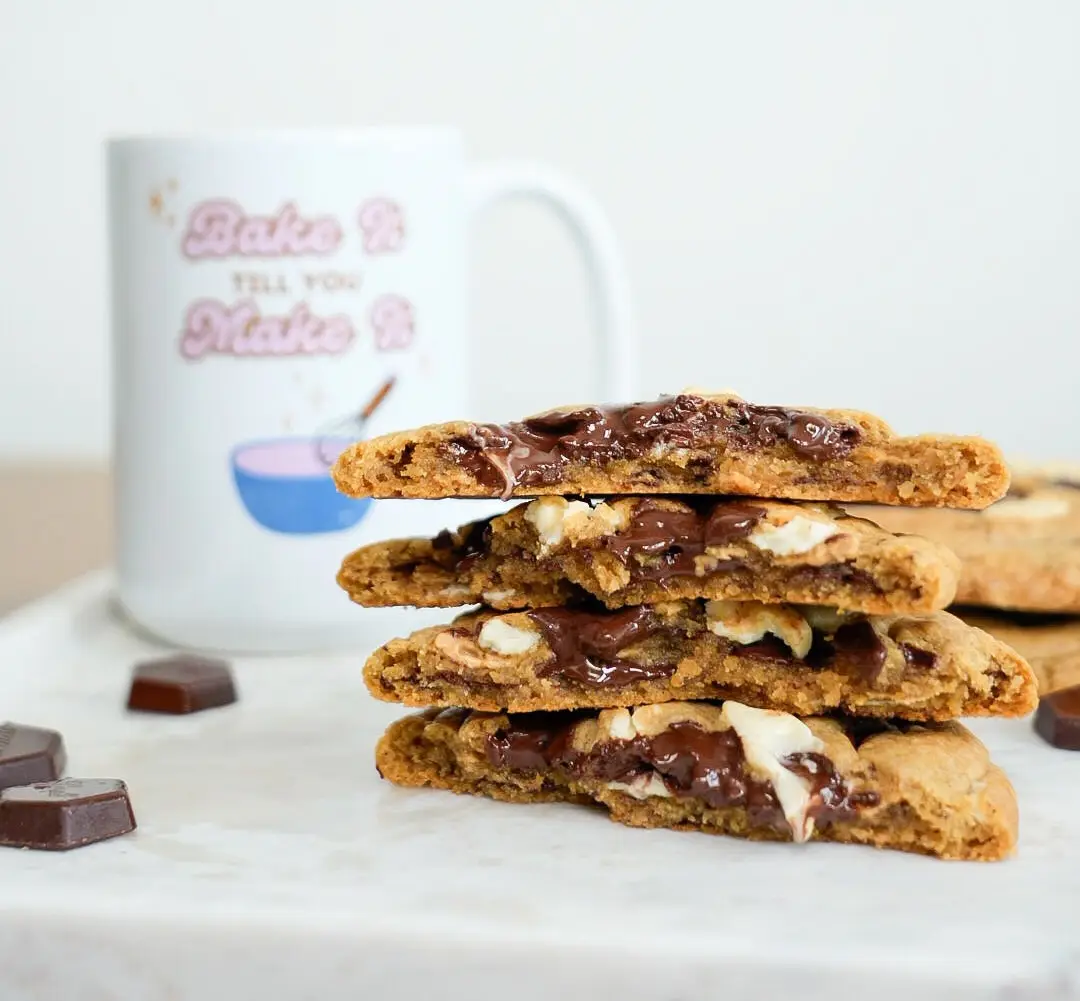
This recipe was created for passionate home bakers, cake decorators, and dessert enthusiasts who enjoy learning the techniques behind consistently great results. Every step you need to create thick, ooey-gooey cookies with the best possible texture and flavour. These gourmet, bakery- style cookies combine the best of both worlds with a lightly crispy outside, and soft ooey-gooey centre.
The rich buttery flavour is enhanced with the addition of caramelized white chocolate- a rich, golden chocolate with hints of toasted caramel and a slightly nutty finish.
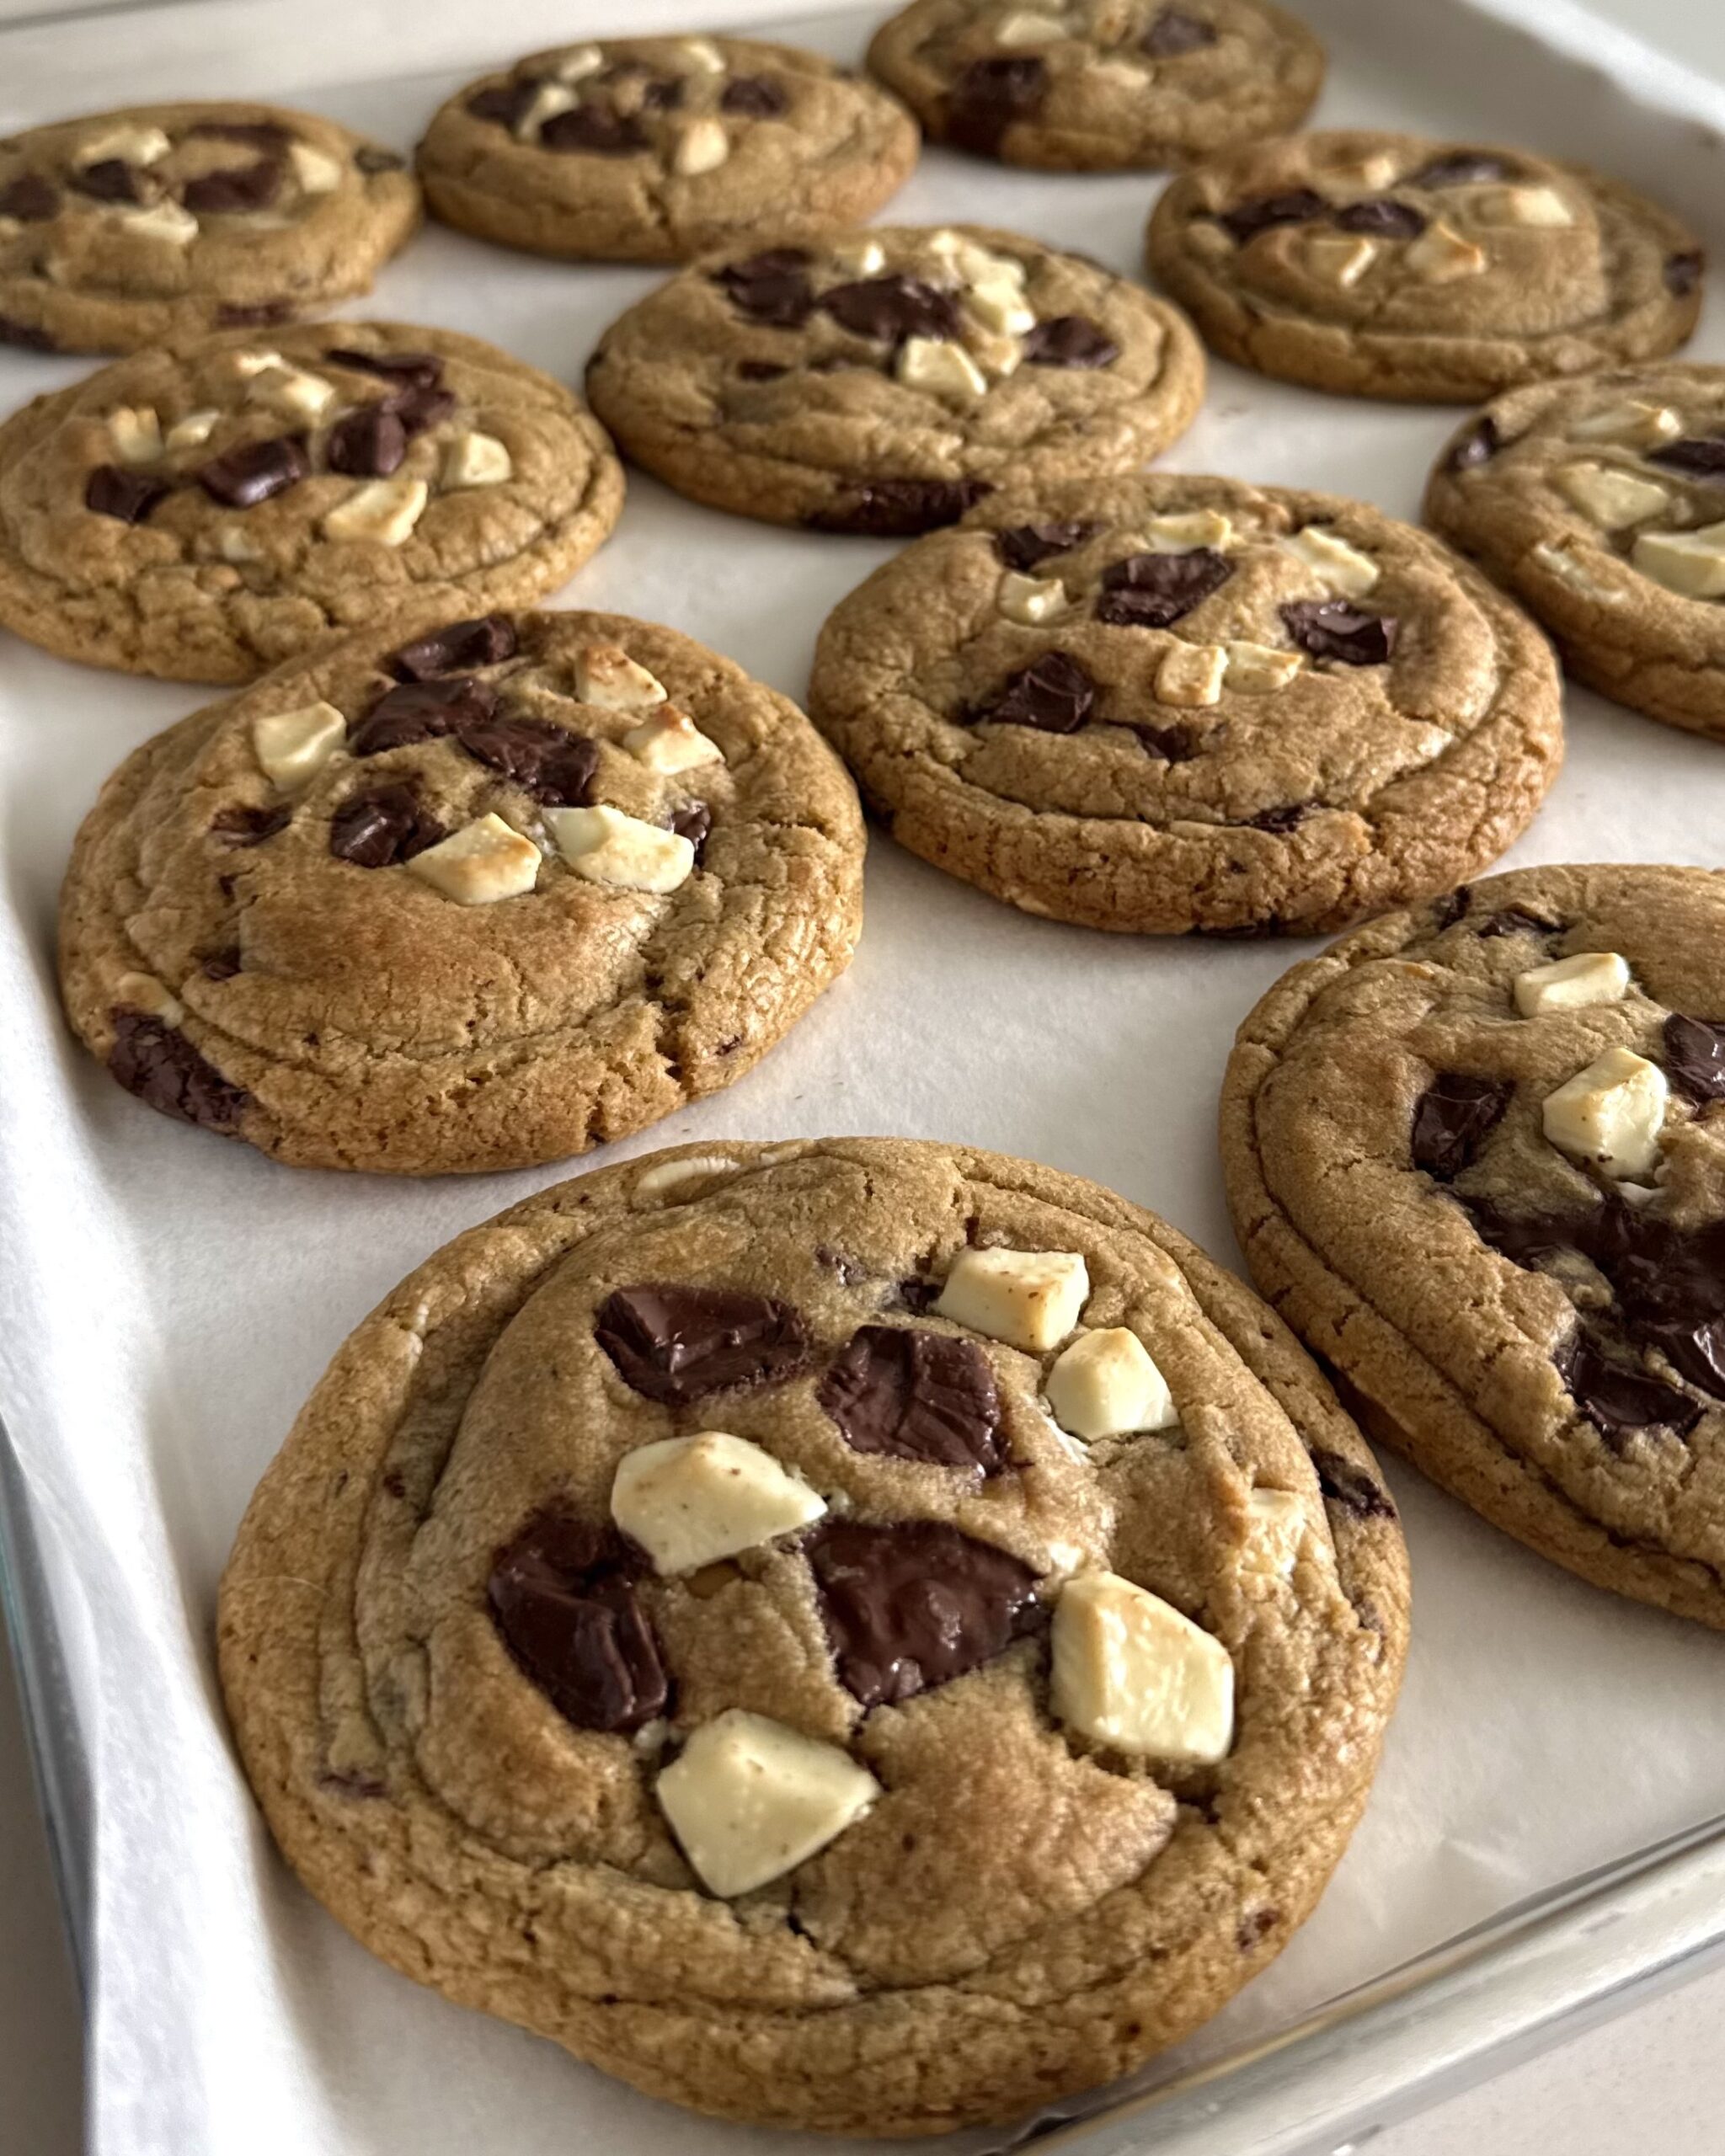
Using a digital kitchen scale to measure ingredients guarantees consistency– every time! This recipe focuses on large gourmet-style cookies with a rich flavour and structured texture, using a more intentional method for best results.
Jump to Recipe


Before preparing the rest of the ingredients, chop the chocolate roughly into uniform sized chunks if using chocolate bars or large chocolate callets. Set aside.
You can use chipits white creme chips and butterscotch chips to substitute for the white and golden chocolate, but it doesn’t taste as good as real chocolate. Chipits semi-sweet chocolate chips are made with real chocolate so these are still a great option for the dark chocolate.
Remember to keep separate the 50g dark chocolate and 50g white or golden chocolate for topping the cookie dough balls.
Step 1: Start by combining all the dry ingredients together. Add flour, cornstarch, baking soda, baking powder, and salt in a bowl together, whisk, and set aside.
Step 2: Cream together the room temperature butter and sugars in a large bowl until light and fluffy using a hand mixer, about 2-3 minutes. Start mixer on low and gradually increase speed. Using room temperature butter ensures the mixture emulsifies easily. Cream until no large streaks of butter remain.
TIP: If you don’t have time to bring your butter to room temperature, chop it into 1-inch cubes, and microwave in short 10-15 second bursts, checking and rotating the cubes frequently to ensure the butter softens without melting. If you start to see any liquified butter, stop immediately.


Step 3: In a separate bowl, gently combine the room temperature eggs and vanilla extract with a whisk. Add this mixture to the creamed butter and sugar, mixing on low speed with the hand mixer until just combined.
Avoid over-mixing at this stage to prevent excess air in the dough.
TIP: To quickly bring eggs to room temperature, place them in a bowl of lukewarm water for 5-10 minutes before baking.


Step 4: Adding half the dry ingredients to the wet mixture, gently fold in until partially combined before adding the rest of the flour and folding until no dry streaks remain. I like to mix using my hands once all the dry ingredients are added to fold and press remaining flour into the dough quicker and more uniformly.


Step 5: Add the 325g chocolate to the cookie dough and fold until distributed. You can use a spatula, but i find it easier to incorporate into the dough with my hands. Just don’t over-mix using this method as the heat from your hands can start to melt the chocolate.


Step 6: Form the dough balls. For most consistent results, weigh the entire batch of dough and divide the total weight by 12. This will give you the target weight for each cookie.
My batch weighed 1493g, resulting in dough balls of approximately 124g each.
If you want to form the dough balls without using a scale, divide the dough into 3 equal equal sections, then divide each section evenly into 4 pieces.


Step 7: This step is optional if you’re in a hurry, but it makes a big difference in the final product and helps the cookies come out looking symmetrical. You can gently shape each dough ball into a cylindrical shape by rolling between your palms and gently pressing the top and bottom in after.
If you include this step, your cookies are guaranteed to all look even in shape and size, and keeps them from spreading out too much in the oven.


Step 8: Finish off these cookies with some extra chocolate chunks on top to make sure every bite of the cookie comes with chocolate. Press the chopped 50g white chocolate and 50 grams dark chocolate onto the top of each cookie before refrigerating.
Once all cookies are topped with chocolate, place into an airtight container to refrigerate. Add a layer of cling wrap over the container before putting the lid on to keep the dough as fresh as possible while chilling in the fridge.
Step 9: Refrigerate the dough balls for at least 2 hours before baking, overnight or up to 24 hours is highly recommended for the best flavour and texture.
Chilling the dough allows the flour to fully hydrate and gives the flavours time to develop, resulting in a richer, deeper tasting cookie. It also helps solidify the butter, reducing spread in the oven and creating a thicker cookie with a softer centre and chewier texture.
TIP: Prepare the cookie dough the night before you plan on baking them, making it easy to pop in the oven the next day with no clean up!


Step 10: When ready to bake, remove cookies from fridge and let sit for 10 minutes while the oven heats up. Preheat oven to 335°F using the convection/fan-assisted setting. This ensures cookies bake evenly and set before over-spreading, resulting in crispy edges while keeping the centre soft and gooey.
Cookie dough tends to spread slightly more using the regular bake setting. If your oven doesn’t have a convection setting, use regular bake at 350°F and bake for 1-2 minutes longer.
TIP: If your oven produces inconsistent results, you can use an oven thermometer to get an accurate read on the internal temperature, as many home ovens run hotter or cooler than the displayed temperature.
Step 11: Arrange 6 cookies per baking sheet, leaving space between each cookie for spreading. My oven is small, so it only fits one half sheet sized tray per rack. If you have larger cookie trays, keep it to 6 per tray to avoid over-crowding.
Bake at 335°F convection for 14-16 minutes, or until the edges are set and the centres no longer appear wet or shiny. Cookies will continue to set once removed from the oven, so don’t over-bake as you will lose that ooey gooey centre!
Arrange oven racks in centre of oven for even browning. Since these are BIG cookies, its recommended to allow more space than normal in between each dough ball.


Step 12: When cookies are done, remove from oven and place cookie sheet on a cooling rack for 5-10 minutes. Once cookies have cooled slightly, remove with a flat spatula/turner, and transfer directly to wire cooling rack until cooled completely (or enjoy while still warm and gooey!).
If any cookies remain, store in a container or bakery box at room temperature for 3-4 days, or freeze in an airtight container for longer storage. For best texture, allow frozen cookies to come to room temperature before serving.


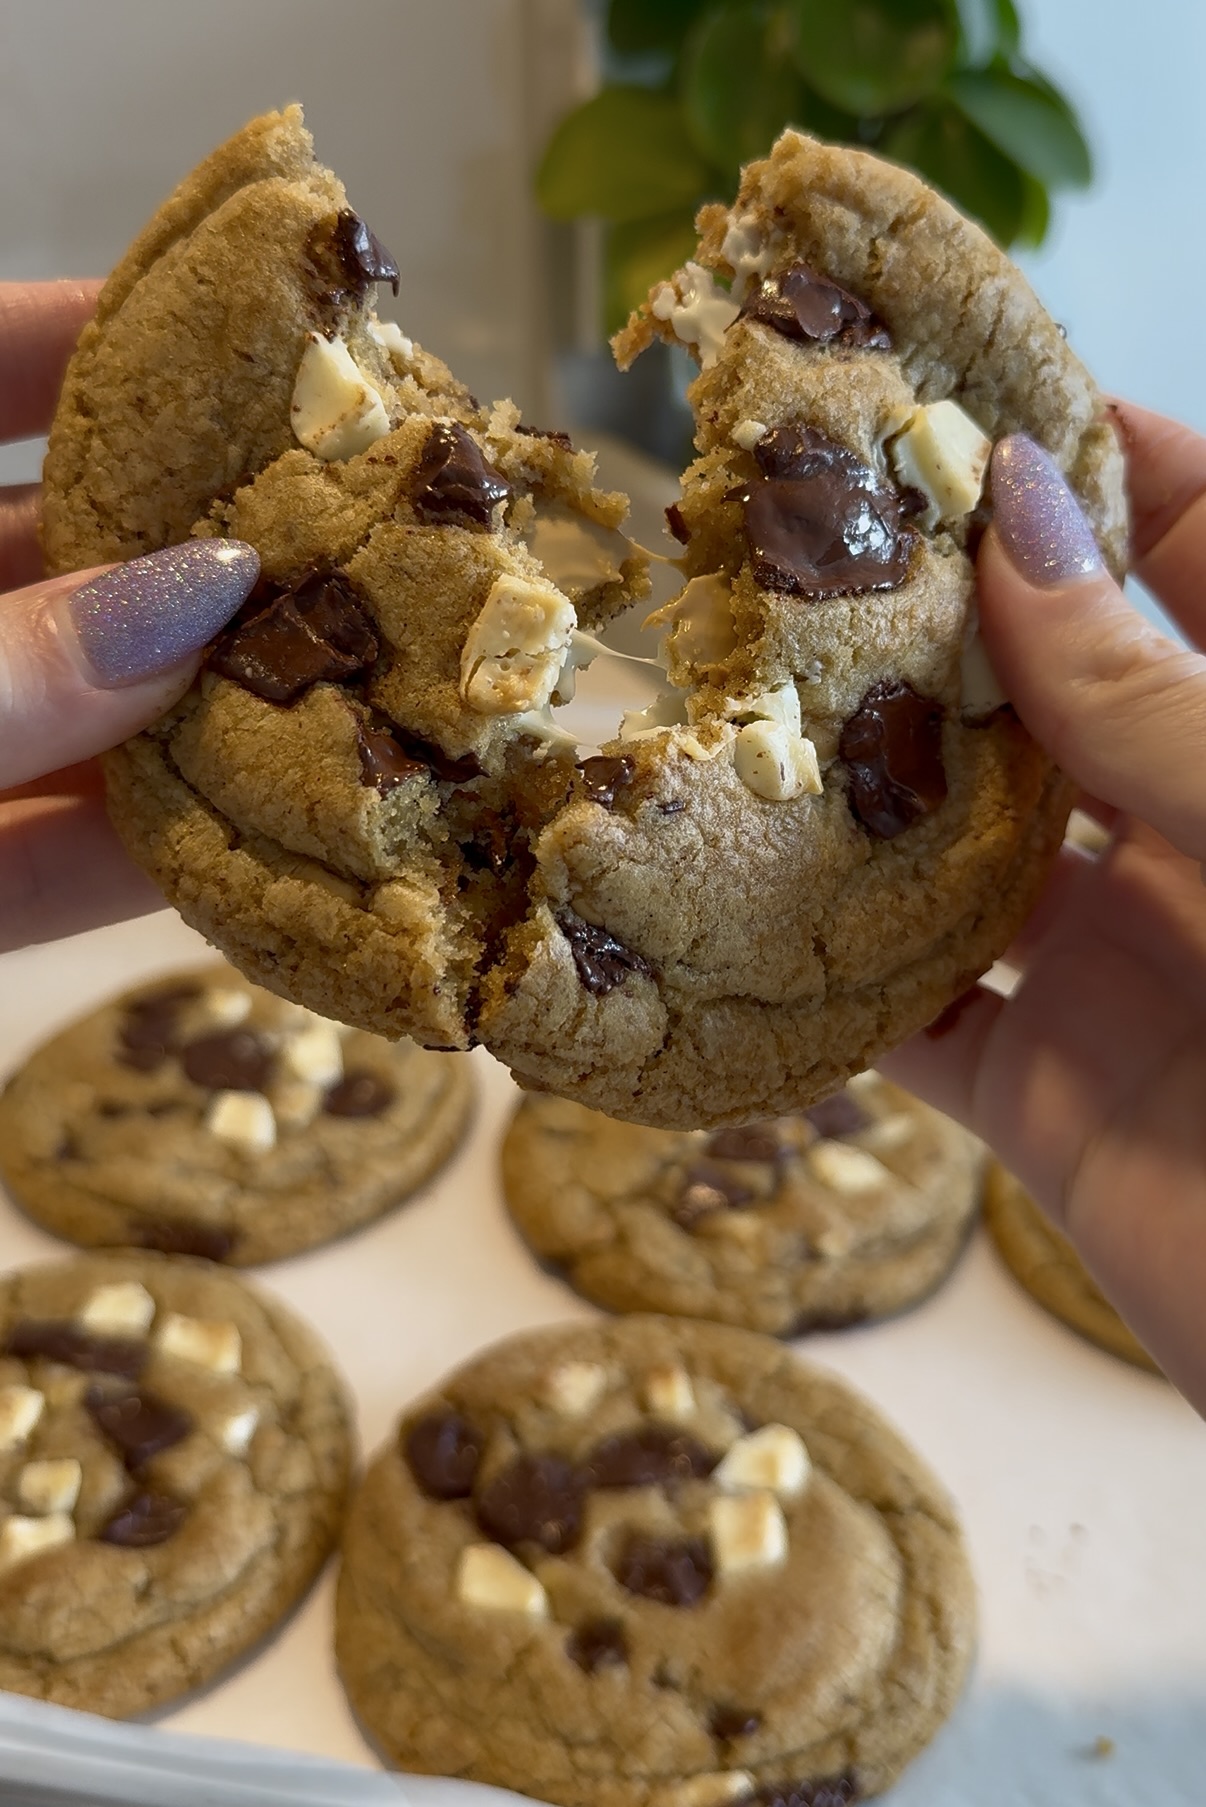
Enjoy these massive ooey-gooey cookies, and don’t forget to share with your friends and family– they’ll definitely be asking for more!

Triple Chocolate Cookies
Ingredients
Equipment
Method
- Whisk together the flour, cornstarch, salt, baking soda, and baking powder in a large bowl. Set aside.
- Cream the room temperature butter and sugars together with a hand mixer. Start on low speed and gradually increase until light and fluffy, about 2-3 minutes.
- Whisk the room temperature eggs and vanilla bean paste together until just combined. Add to the butter and sugar mixture and mix on medium-low speed with the hand mixer until just incorporated. Do not over-mix.
- Add half the dry ingredients to the wet mixture and fold gently with a spatula until partially combined. Add the remaining dry ingredients and continue folding until just combined and no flour streaks remain. Avoid over-mixing.
- Fold in the 325g of white, caramelized, and dark chocolate until evenly distributed.
- Weigh the entire dough mixture and divide by 12 to portion the dough evenly. Each dough ball should weigh approximately 125g.
- Shape each 125g portion of dough into a ball and press the remaining 100g of chocolate onto the tops of each dough ball.
- Refrigerate for at least 2 hours, or overnight for best results. Chilling the dough helps set the cookies and enhances the flavour and texture.
- Place 6 cookies at a time, evenly spaced onto a parchment-lined baking tray. Bake at 335℉ for 14-16 minutes using the convection/fan assisted setting for best results, or 350℉ regular bake for 15-17 minutes if your oven doesn't have that setting. Use middle rack on oven for even browning. Cookies are ready to be removed from the oven when edges look set with light browning, and centres no longer appear wet or shiny.
- Allow the cookies to cool on the baking sheet for 5-10 minutes before carefully transferring to a wire rack. The cookies will continue to set as they cool.
Notes
- For best results, weigh ingredients using a digital kitchen scale.
- Prepared cookie dough balls can be refrigerated overnight for enhanced flavour and texture.
- Unbaked dough balls can be frozen for longer storage for future use– thaw in the refrigerator overnight before baking.
- Store cookies at room temperature in a bakery box or airtight container for 3-4 days.
- Baked cookies can also be stored in an airtight container in the freezer for optimal freshness– allow to come back to room temperature before serving, or warm up in the oven or microwave.
- Oven temperatures may vary slightly, so baking times may need minor adjustments.